Technology
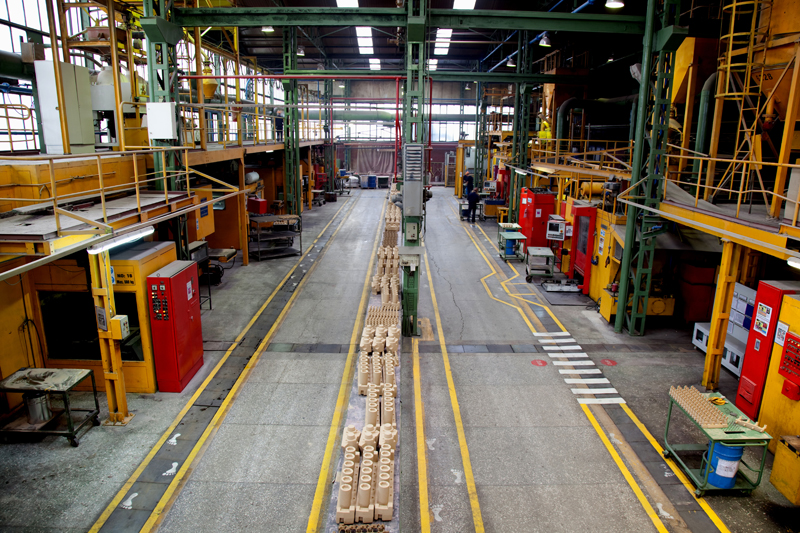
Casting Factory - 1
Capacity: 40.000 tons/year
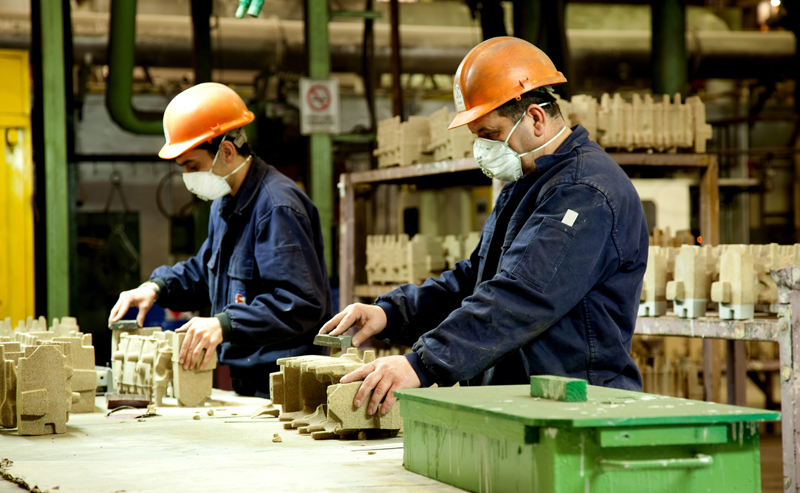
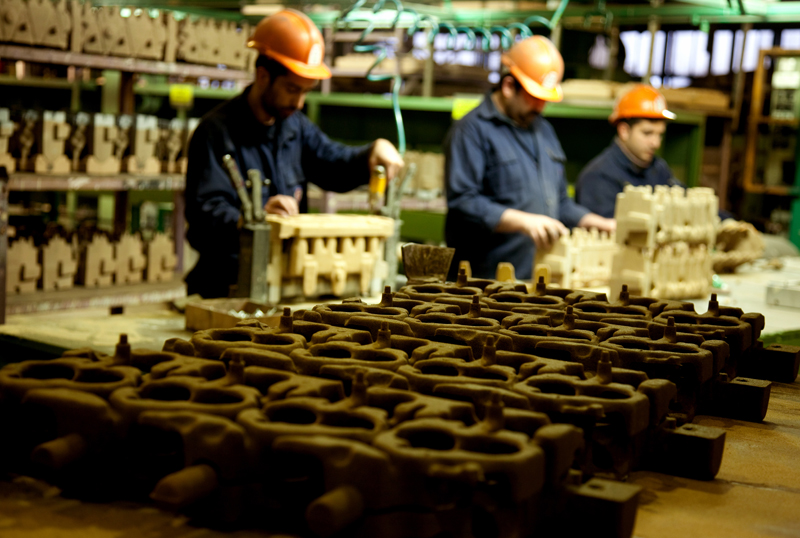
Core Shop: Cores in various weights and shapes can be produced by 17 Cold-box and Hot-box machines varying between 20 to 100 liters.
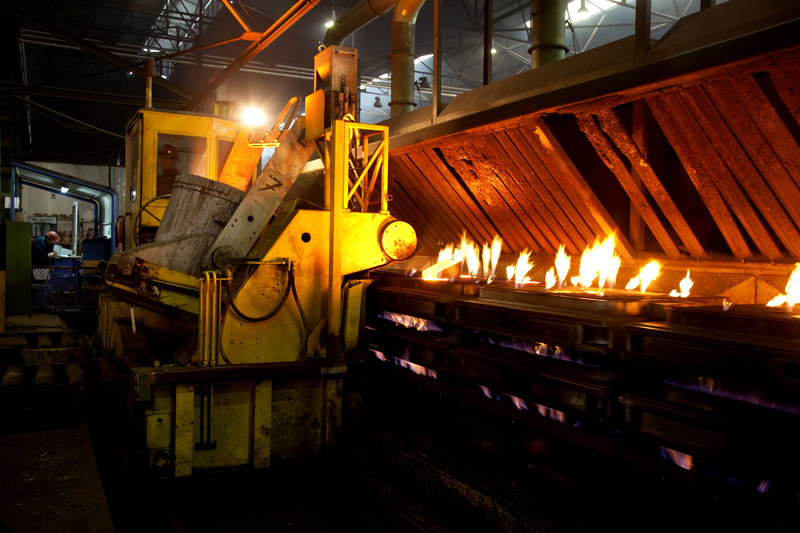
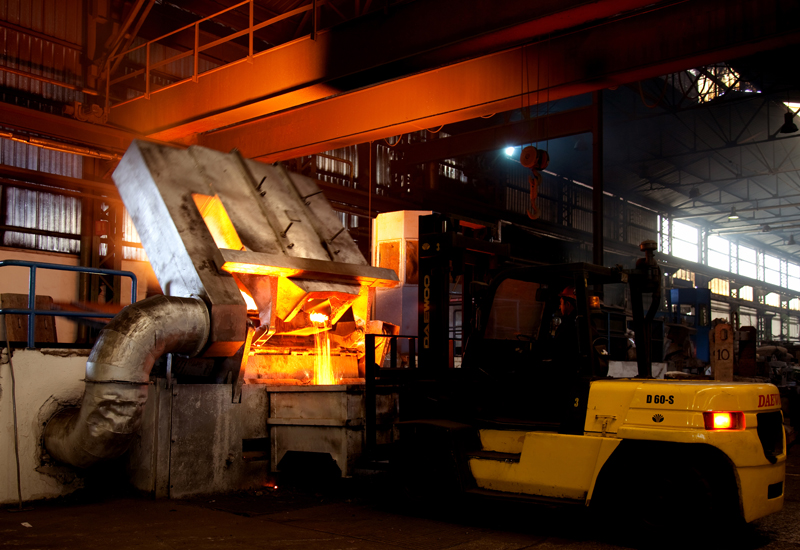
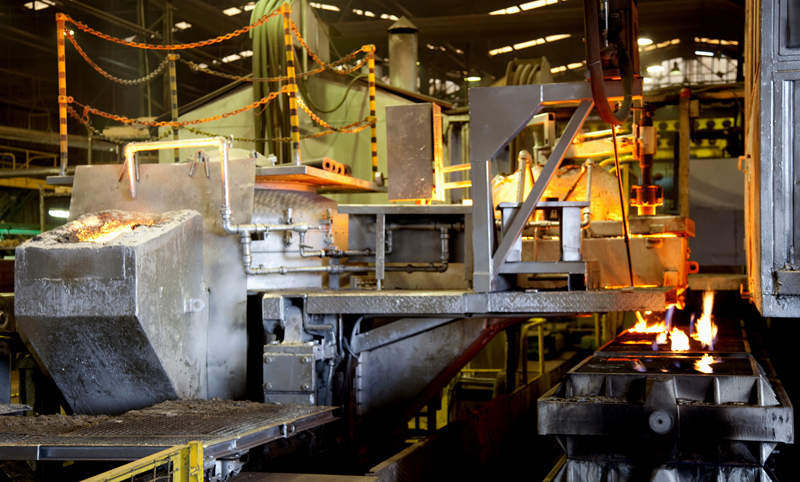
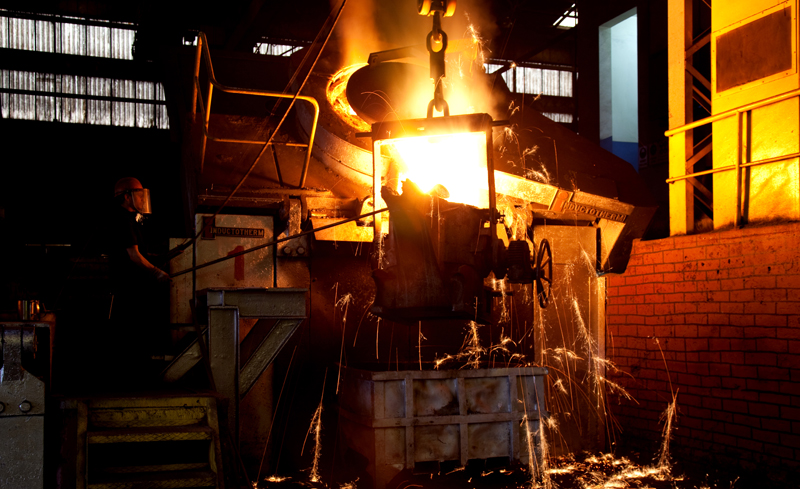
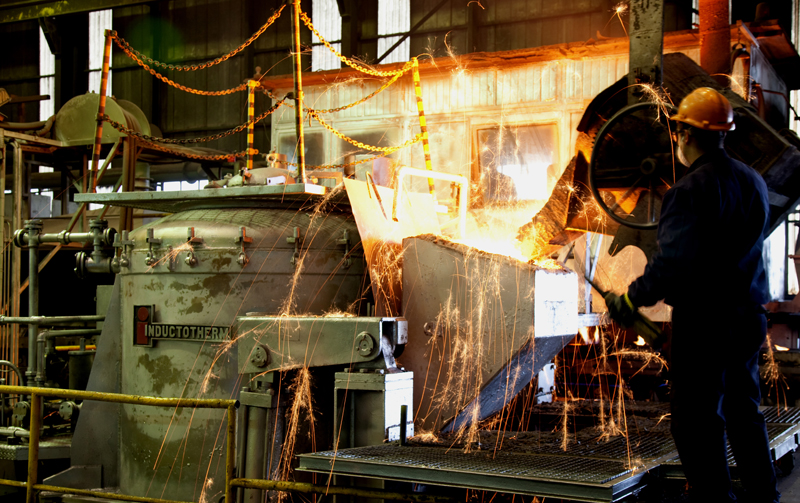
Melting: Gray and nodular iron material with different grades is prepared by 5 induction furnaces; which has a melting capacity of 9 ton/hour.
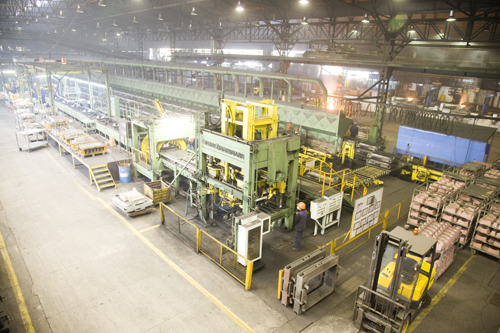
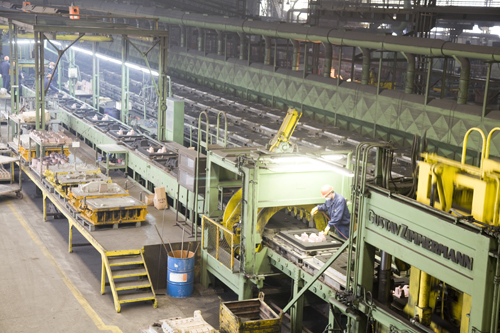
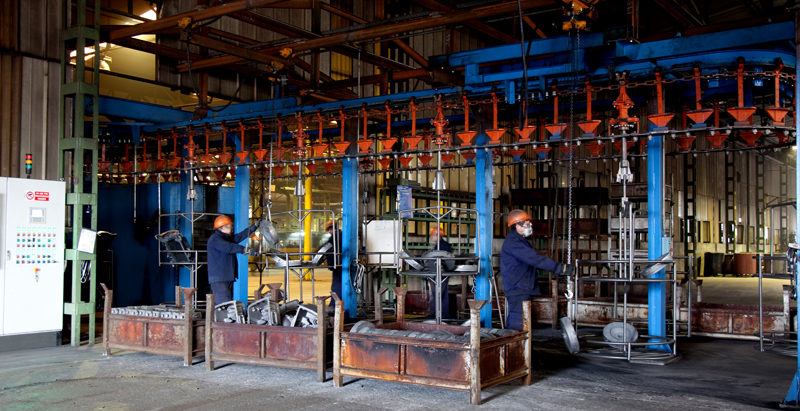
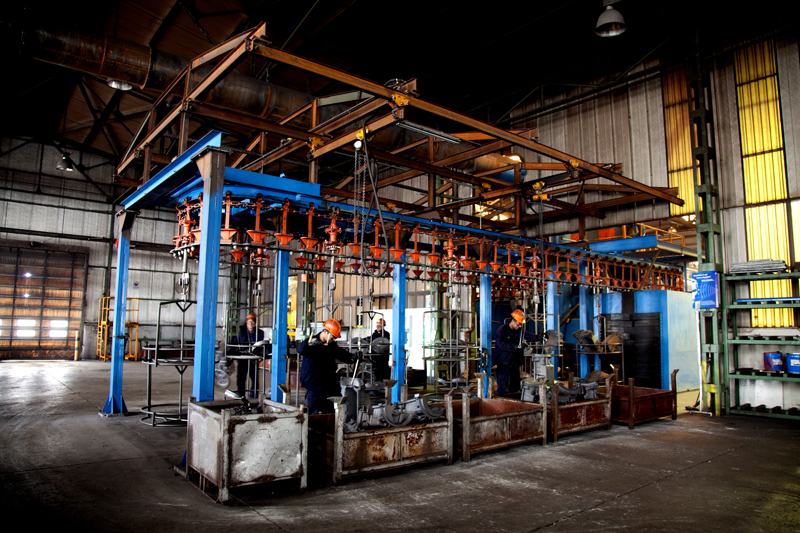
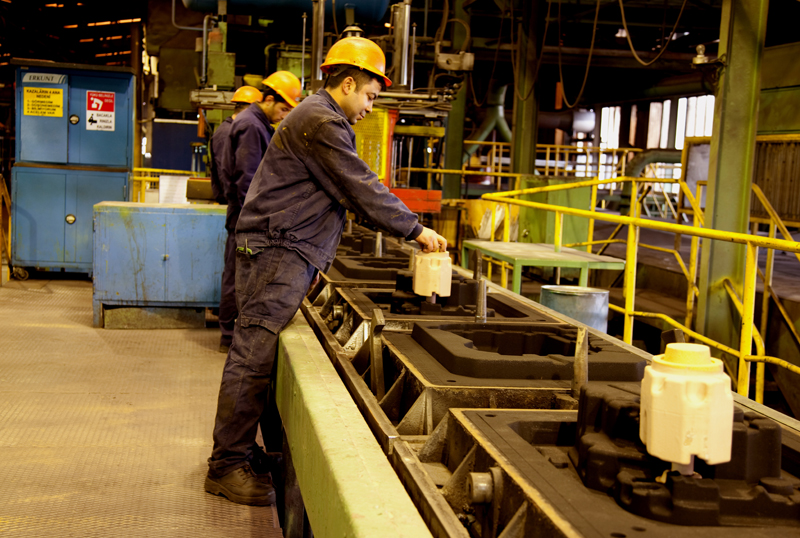
Moulding: The production is implemented by three moulding lines: Künkel Wagner (KW), Gustav Zimmerman (GZ) and Furan.
Casting Plant-1 _ Moulding Line speed / flask dimensions:
1 x Gustav Zimmerman Moulding Line (with HWS Moulding Machine),
Flask Dimensions: 900x1200x350/350mm, Line speed: 100 moulds/hour
1 x Künkel Wagner Moulding Line (with HWS Moulding Machine),
Flask Dimensions: 600x800x300/300mm, Line speed: 100 moulds/hour
1 x Furan Moulding Line,
parts with precise dimensions and / or more than 200 kg are produced.
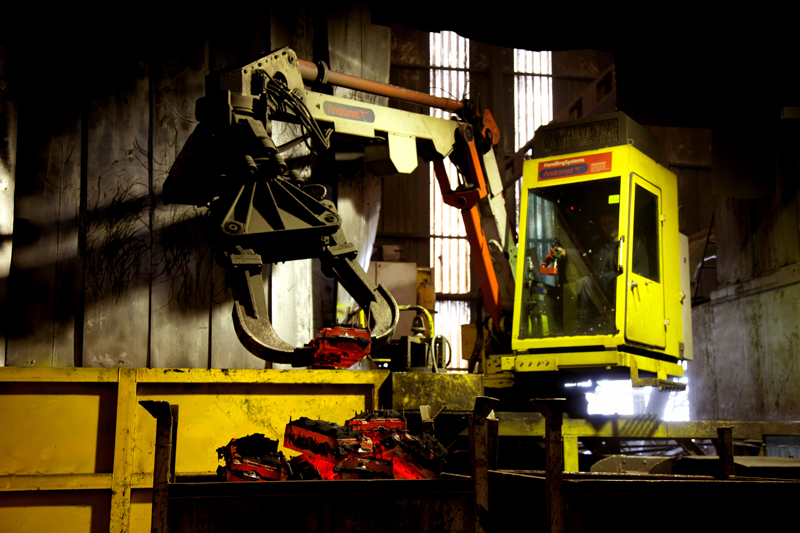
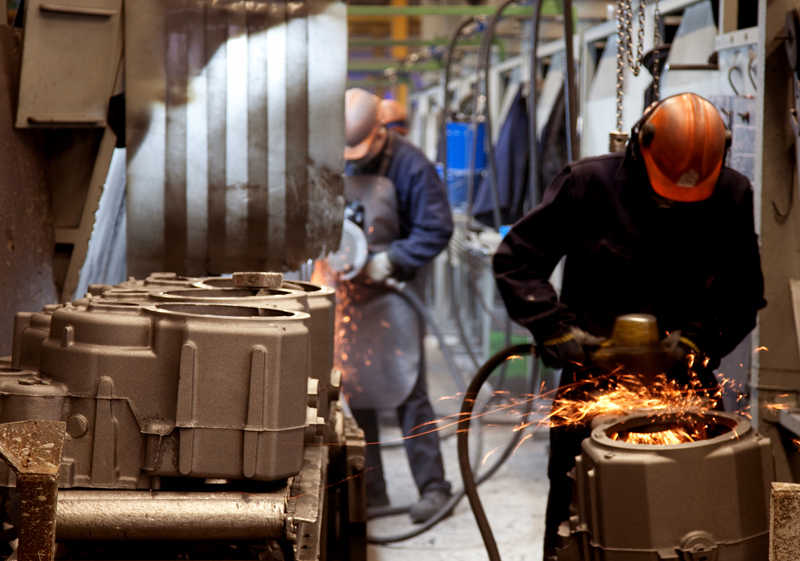
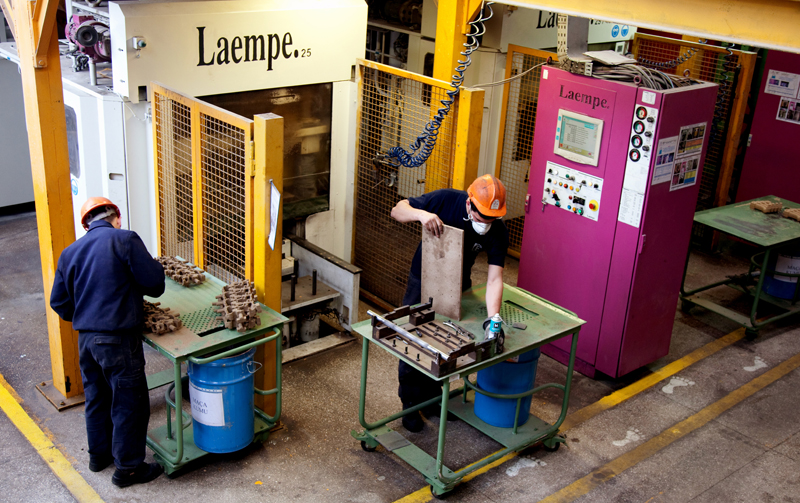
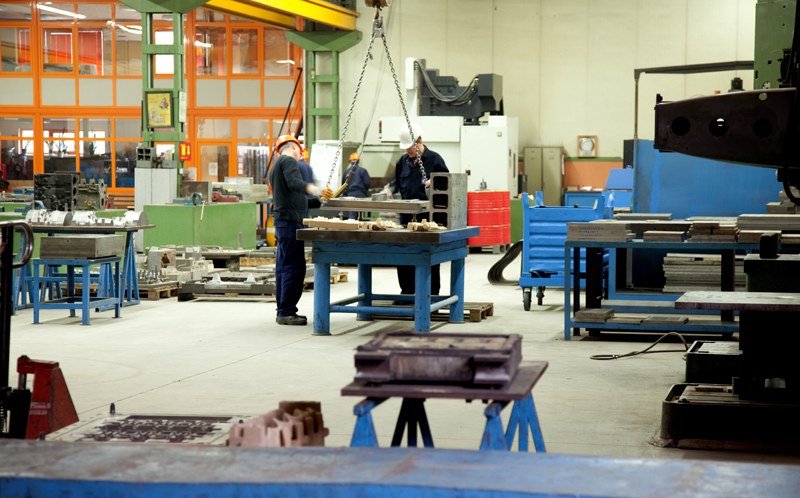
Fettling: Grinding operation of cylinder heads is carried out by CNC controlled automatic grinding machine. Other casting parts are cleaned from casting sands and burrs by shot blasting machines and pneumatic tools, respectively.
Casting Factory - 2
Capacity: 20.000 ton/year
Core Shop: Cores with different weights and shapes can be produced by totally 19 Cold-box(15) and Hot-box(4) machines varying between 25 to 100 liters.
Melting: Gray iron material with different grades can be prepared by 2 (dual-track) induction furnaces which has a melting capacity of 6 tons / hour.
Casting is implemented by an automatic pouring furnace with a capacity of 6 tons / hour, which sustains a stable casting rate and temperature.
Moulding: The production is implemented by HWS (Heinrich Wagner Sinto) moulding line.
Flask Dimensions: 700x900x350/350mm, Line speed: 100 moulds / hour
Fettling: Casting parts are cleaned from casting sands and burrs by shot blasting machines and pneumatic tools, respectively.
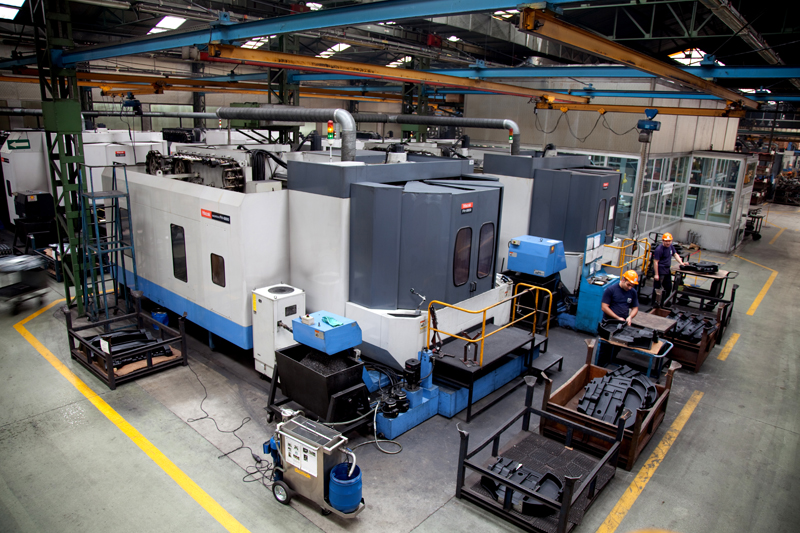
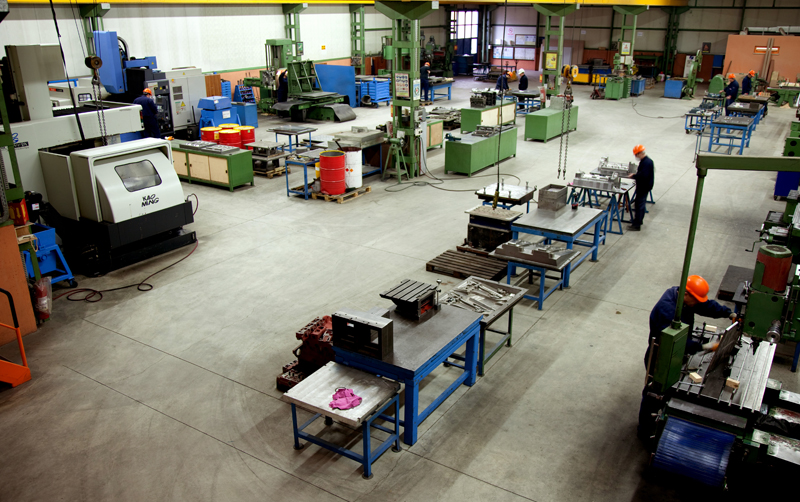
Machining Factory - 1
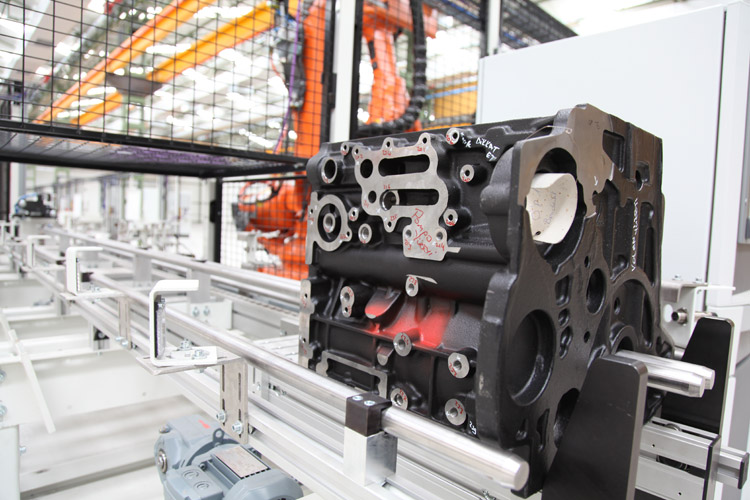
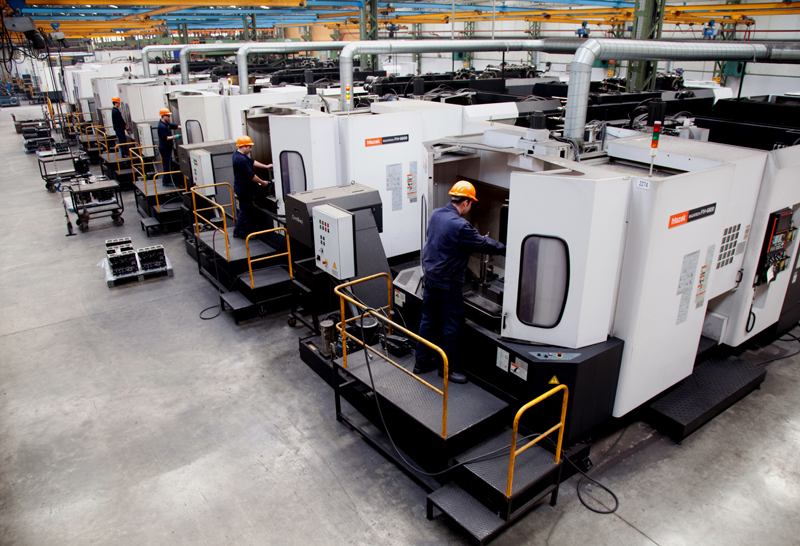
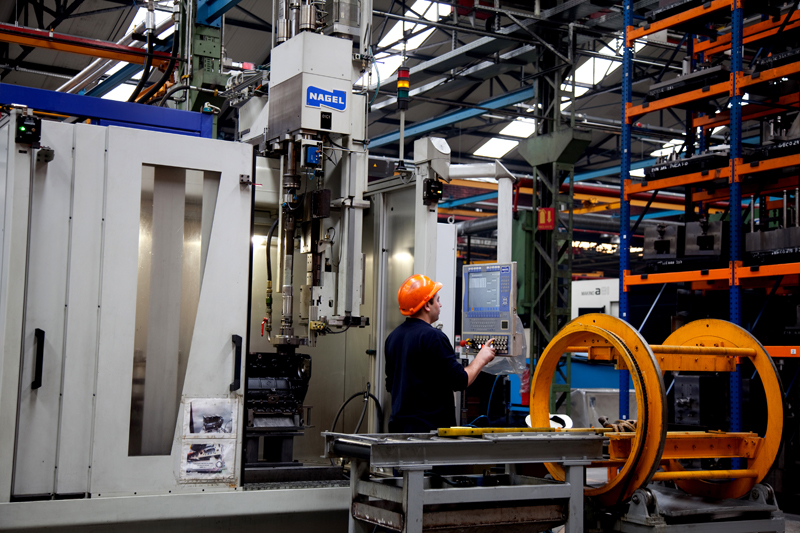
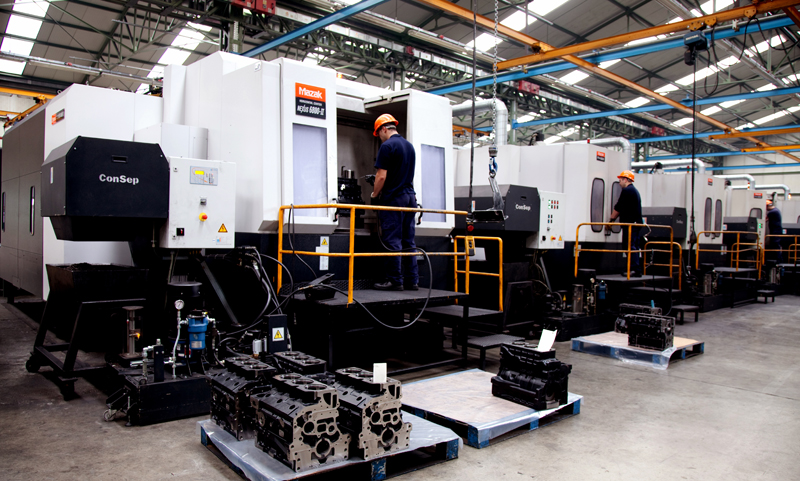
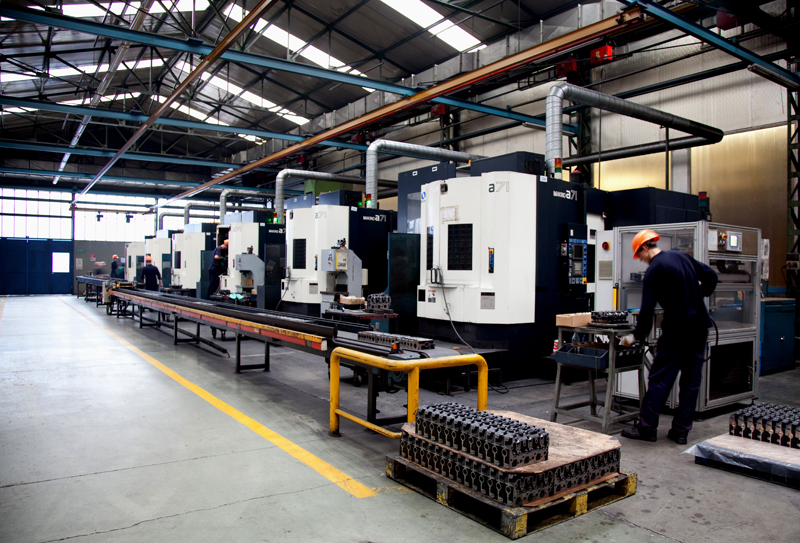
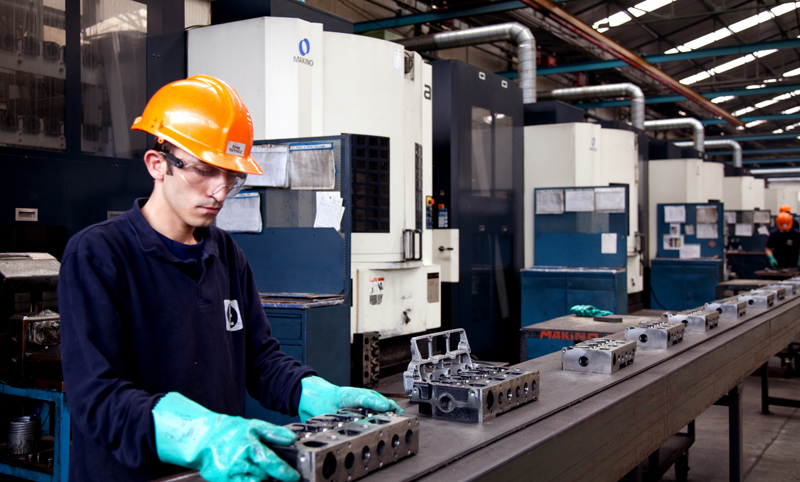
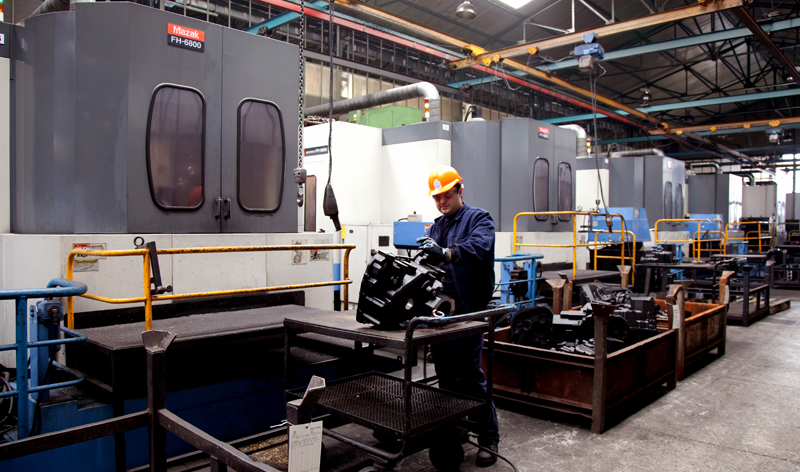
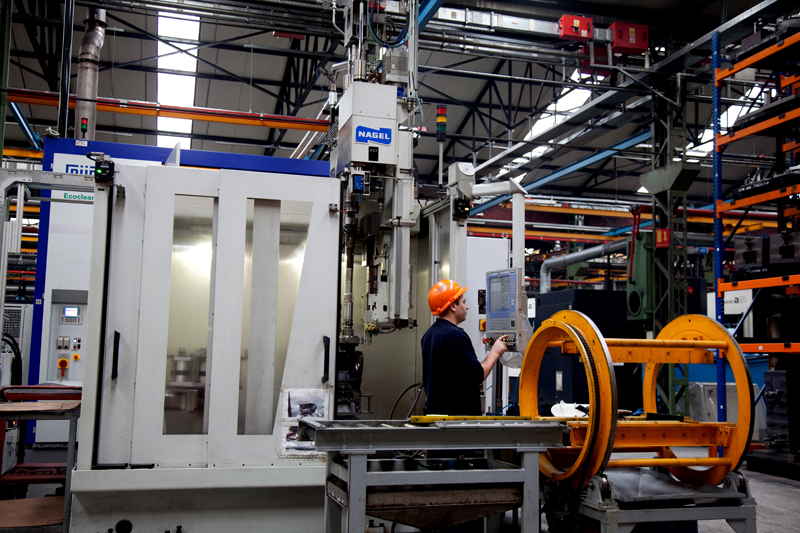
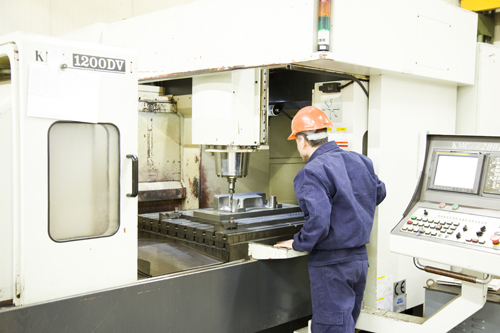
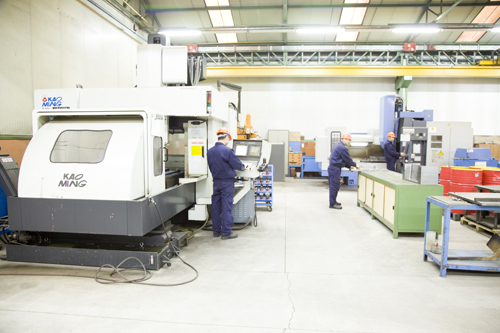
Since its early years of establishment, Erkunt has not only casted parts but also machined them, creating a difference in the sector. Known by its expertise and advanced technology in the products such as engine blocks, cylinder heads and gearboxes, Erkunt exports a significant portion of its products as machined.
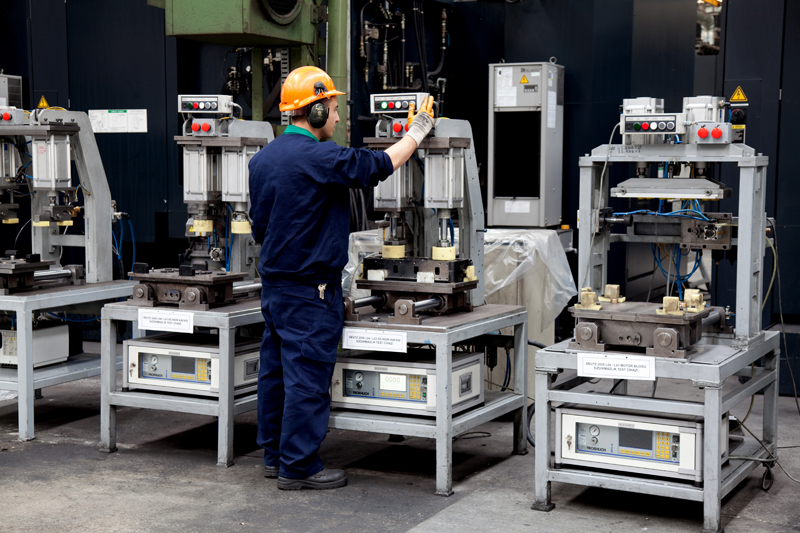
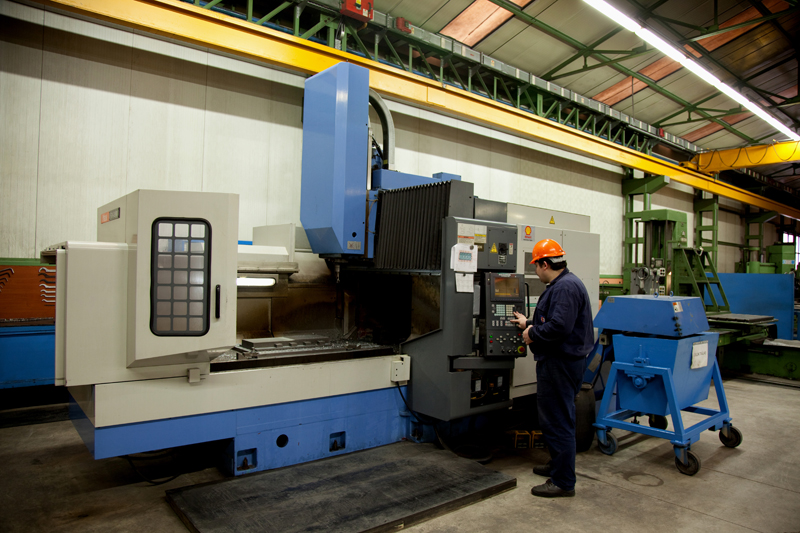
Assembly of engine blocks and cylinder heads in various steps and honing process of engine blocks are within the capabilities of our machining shop.
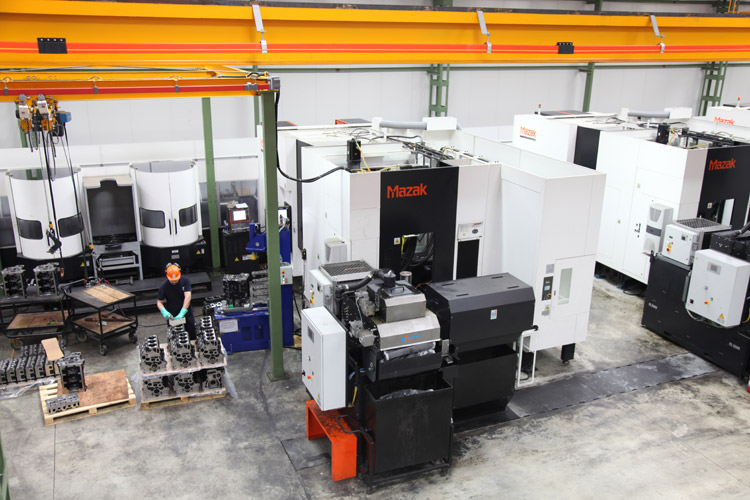
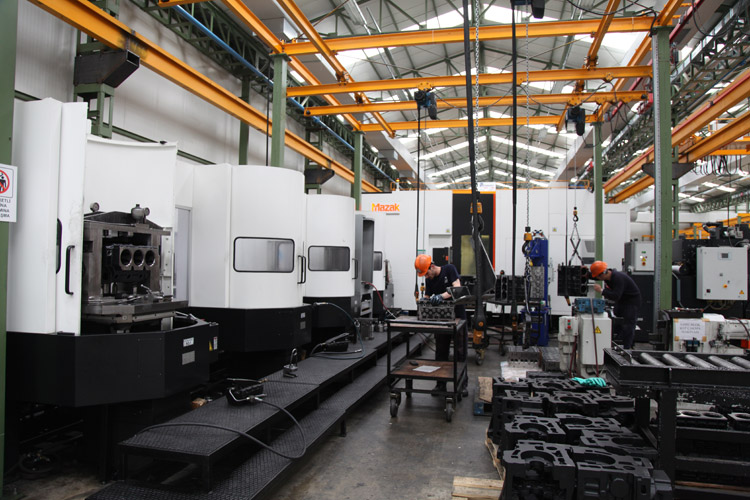
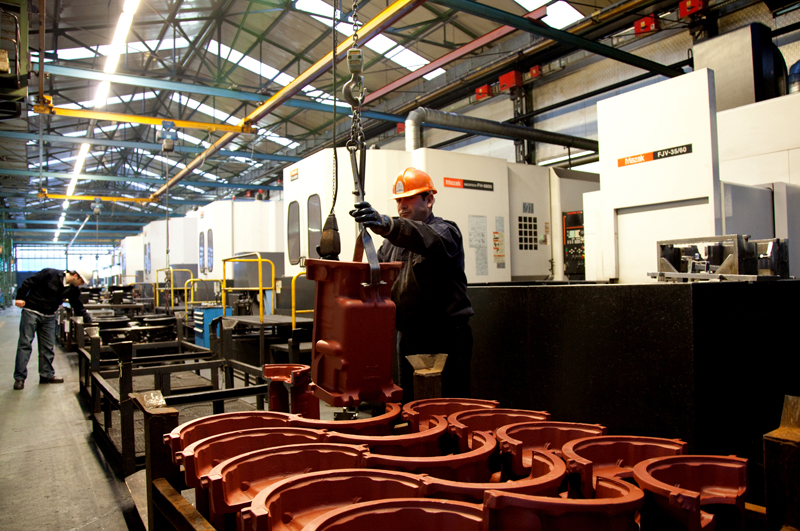
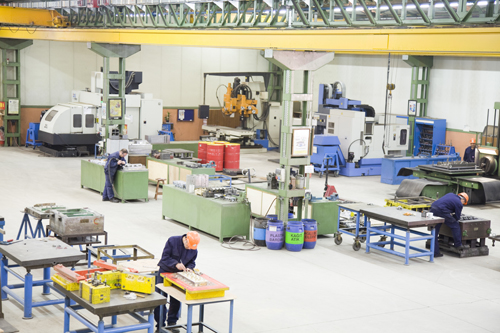
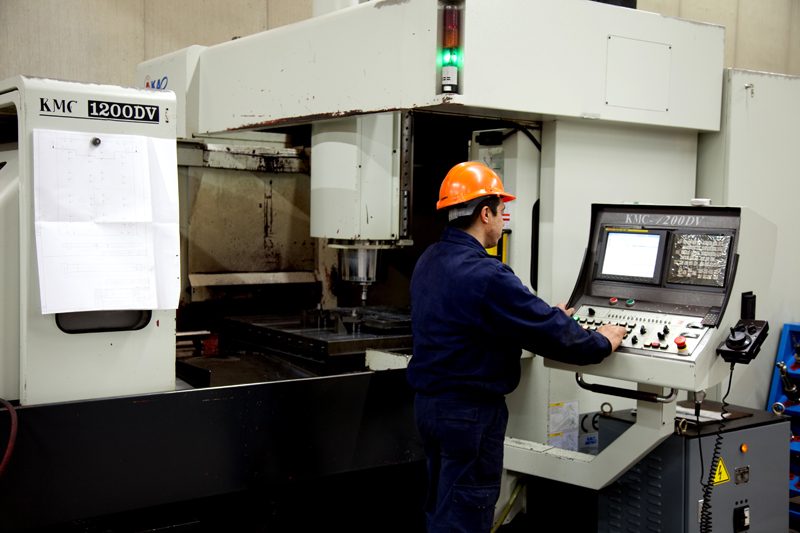
Machining Factory-1 has a capacity of 510.000 hours/year which is the sum of 380.000 hours for horizontal, 100.000 hours for vertical machining centers and 30.000 hours for other machinery. The plant has a capacity of 110.000 hours/year in lathe machines section, which is the sum of 60.000 hours for vertical and 50.000 hours for horizontal lathe machines.
Engine Block Honing
As a result of our principle of continuous development, “Honed Engine Block” production has begun in 2008. Honing process can be carried out up to 6 cylinder engine blocks with maximum diameter of 120 mm.
Washing Machines
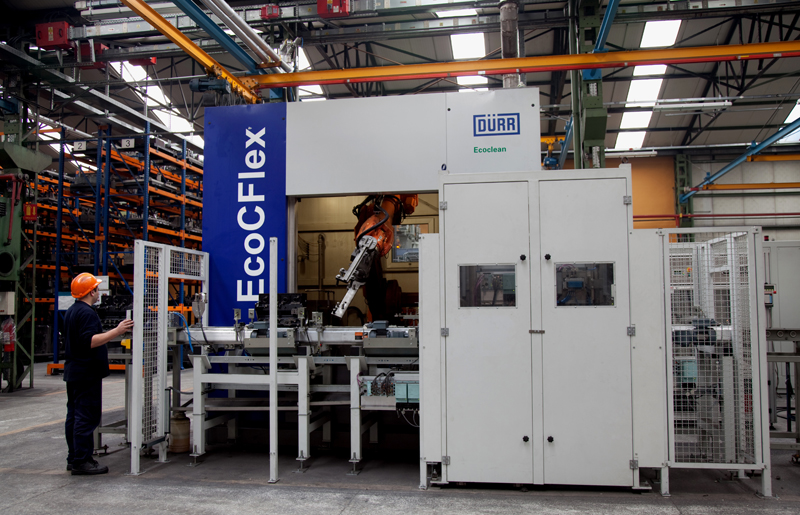
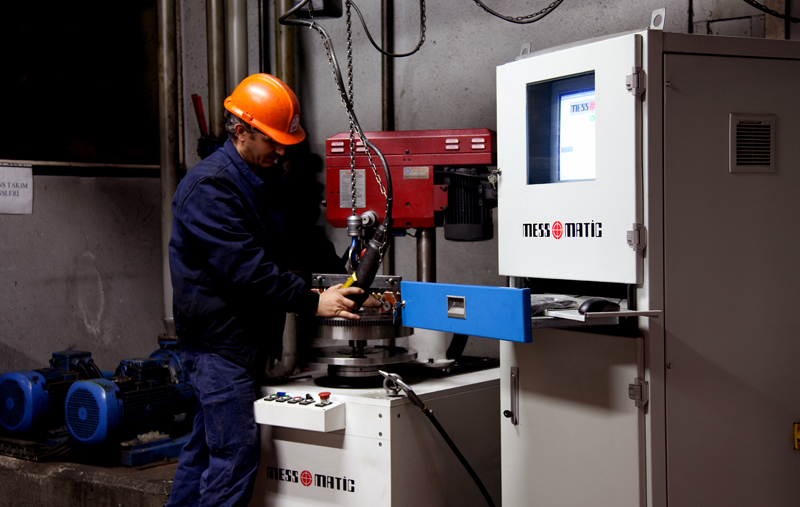
High level cleaning standards requested after machining or honing of engine blocks and cylinder heads are ensured by DÜRR and EcoCFlex trademarked automatic washing machines. Particles in µ size and contamination levels in mg are ensured by these machines.
Assembly Process
Various steps of assembly process in engine blocks and cylinder heads can be implemented.
Machining Factory - 2
In order to produce engine blocks in which design, casting, machining and assembly processes to be carried out by Erkunt Sanayi A.Ş, Erkunt has completed its second machining shop.
Machining Shop–2 is located in Ankara Chamber of Industry (ASO) Industrial Zone on an area of 12,000 square meters and has been making production since November 2011.
In 2008, the foundation of the shop had laid but suspended in 2009 due to local economic crisis. Thus, in order to satisfy Deutz demands in 2010, the construction had started and Machining Shop–2 had been completed in October 2011.
To provide high quality and production tonnage, from entry to delivery of products all production processes are achieved by full automation systems.
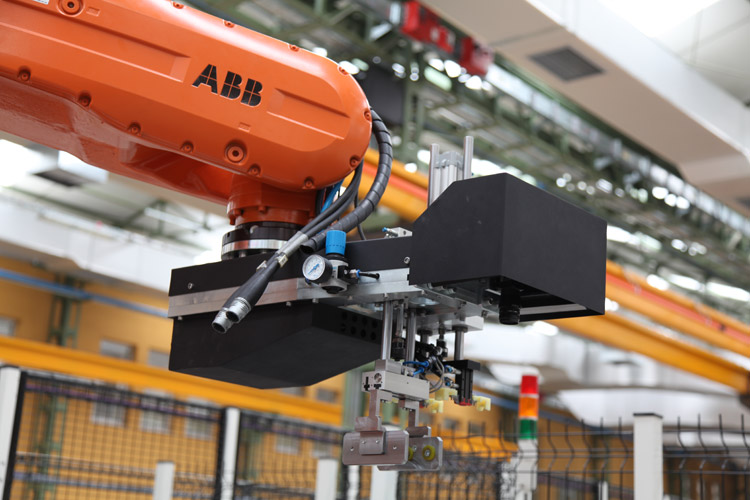
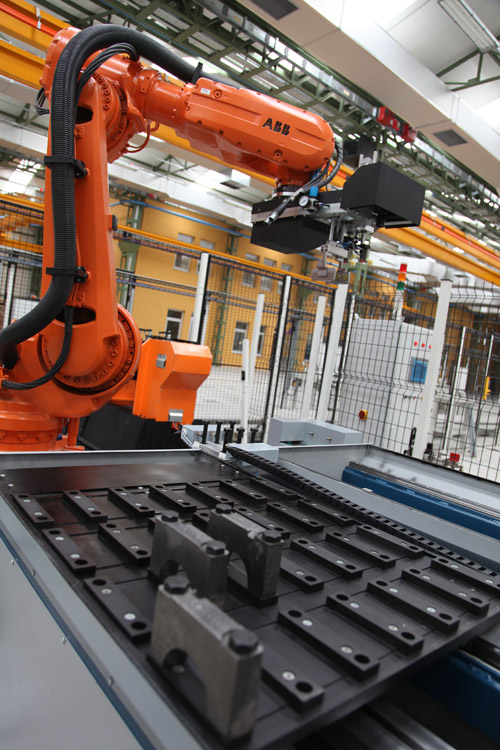
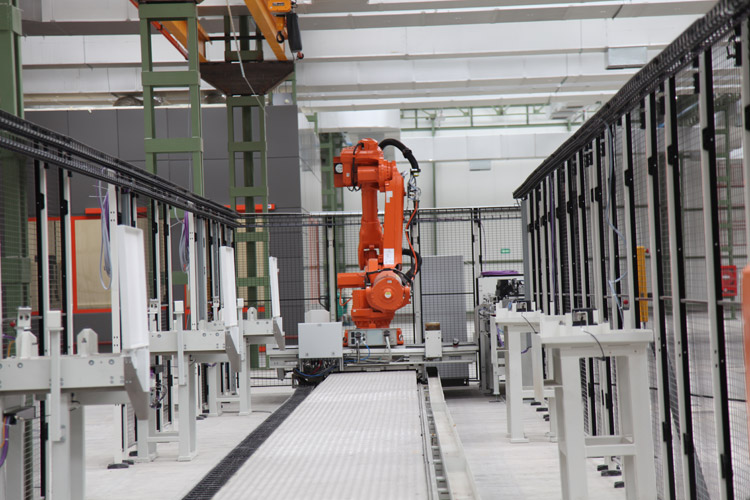
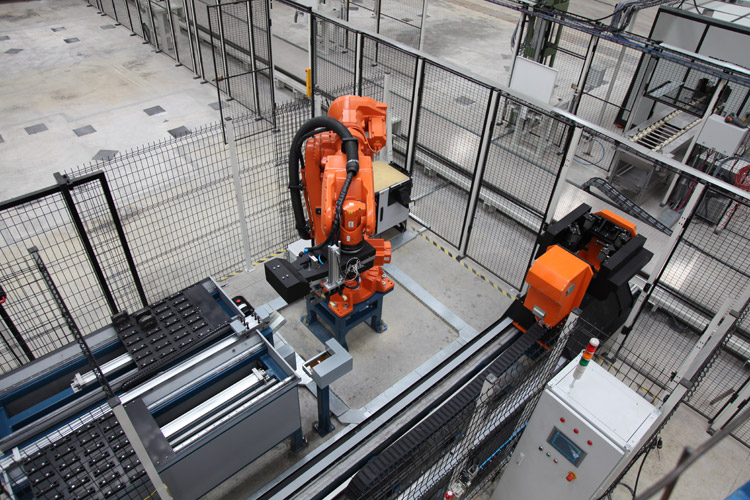
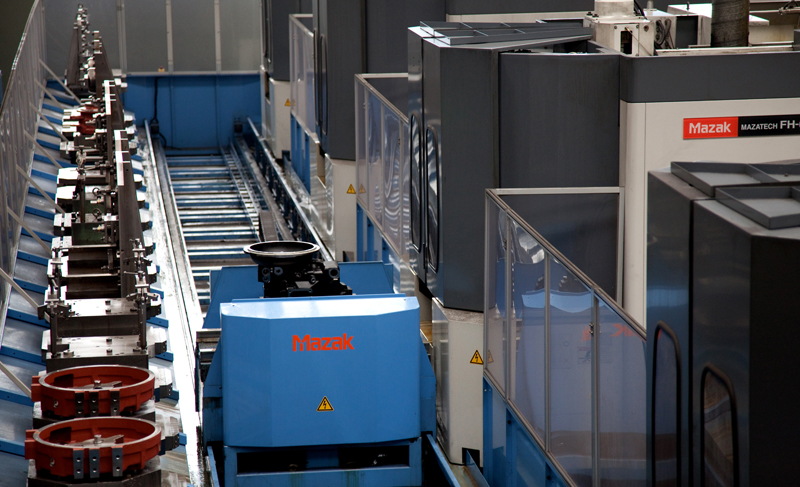
In advanced technology based Machining Shop–2 where machining of engine blocks and cylinder heads to be carried out, firstly, FMS machining line with 6 machining center, and secondly engine block production line to be run with robot automation will be put into operation. Thereby, it is aimed to make Machining Shop-2 as a model machining shop in which similar automation practices will be used.
Pattern Shop
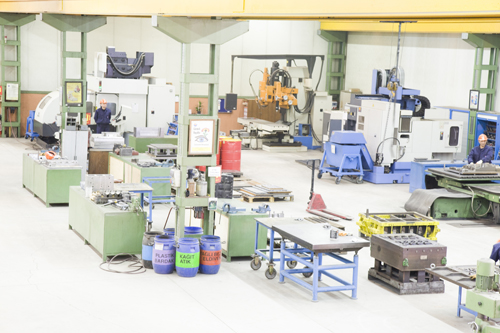
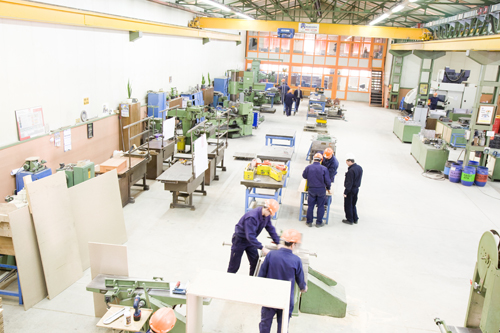
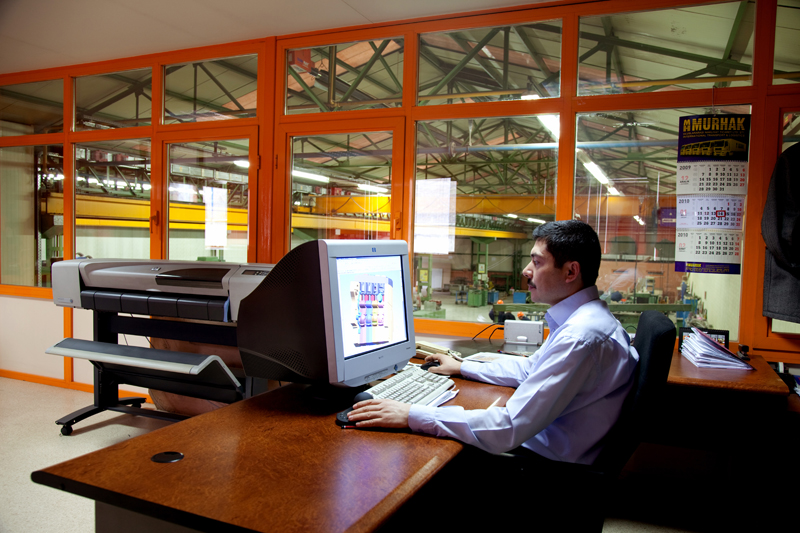
Erkunt has a Pattern Shop with the personnel and equipment which are capable of designing and manufacturing wooden, araldite, aluminum, cast iron and steel patterns and core boxes.
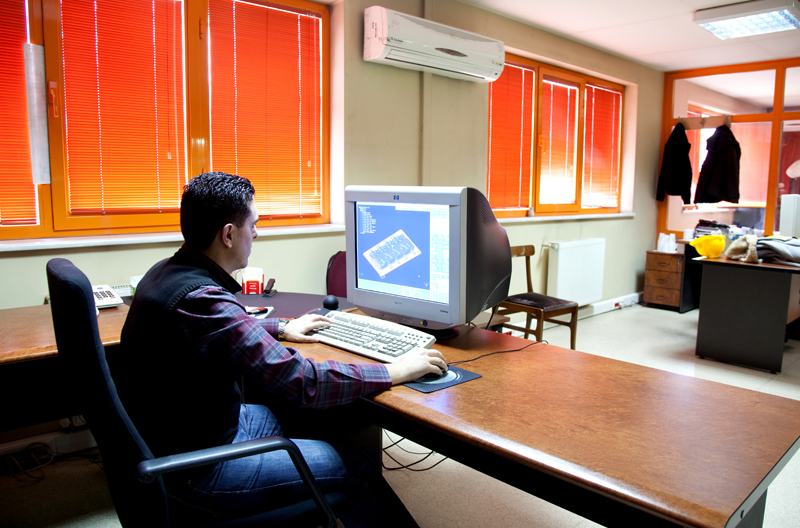
3-D casting tooling is designed with Unigraphics and manufactured by using TEBIS CAM software.
Design and manufacture of other casting tooling like core assembly fixtures and control gauges are among the capabilities of Erkunt Pattern Shop.
Laboratories
Sand Laboratories
Since mould sand and core properties are very important in the casting process in respect to their effect on scraps, mouldability and surface quality of the casting; sand control gains great importance. George Fischer test equipments are used in sand laboratories. The sieve analysis of the sand, amount of combustion loss, active clay, compactibility, humidity, gas permeability, strengths for core and sand and properties like these are periodically controlled and production departments get feedbacks in order to stay within the desired process limits.
Chemistry Laboratories
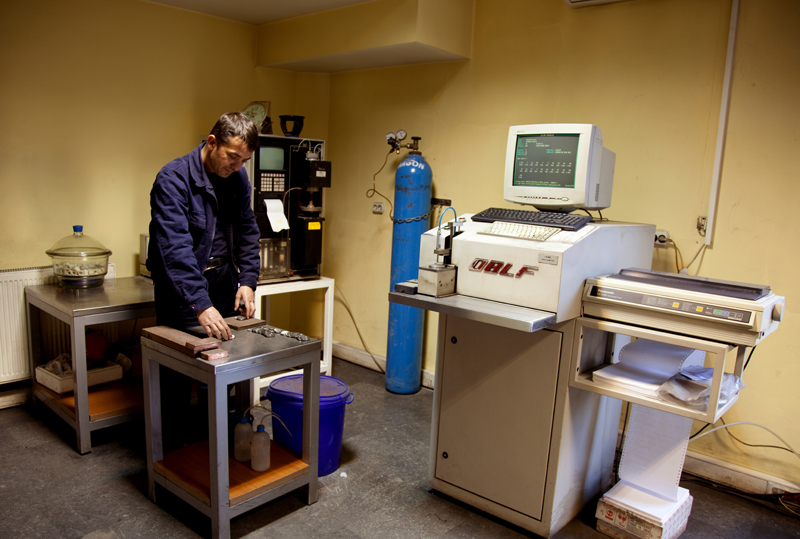
In chemistry laboratories, the % chemical analyses of the melted metal prepared for gray and nodular casting process are done by OBLS Spektro and Leybold C-S devices. By using LECO TC400 Nitrogen determination device, nitrogen and oxygen amounts in the liquid metal are determined in ppm levels.
In chemistry laboratories, pH, %concentration, conductivity, hardness, organic substance, bacteria, etc. measurements of the water and liquids used in Erkunt processes are performed. Also chemical controls specified for various raw materials and inputs are performed.
Mechanical-Metallographical Laboratory
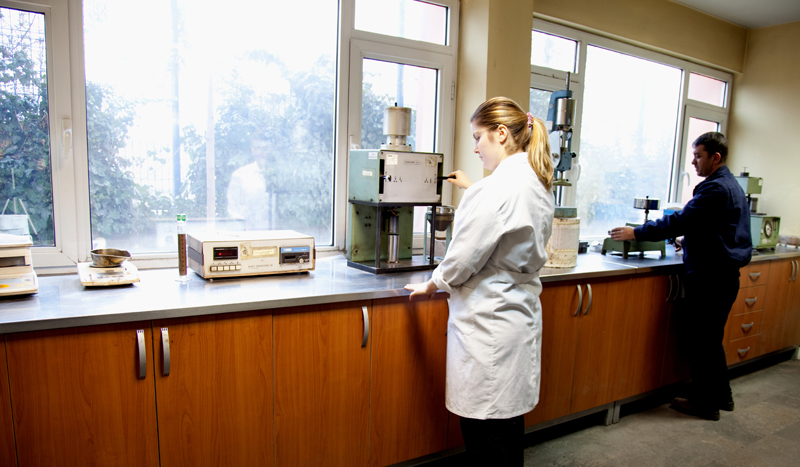
Tensile strength and % elongation controls of the gray and nodular iron components are performed with Schenk strength device; having an accuracy of 0-200 kN and 0.1N/cm2. The hardness controls in Brinell units, which are requested for castings are performed by using stable and portable hardness devices.
For metallographical controls, we use an Olympus trademarked optical microscope which can magnify x200.
Dimensional Control
Dimensional Measurement Room for the Castings:
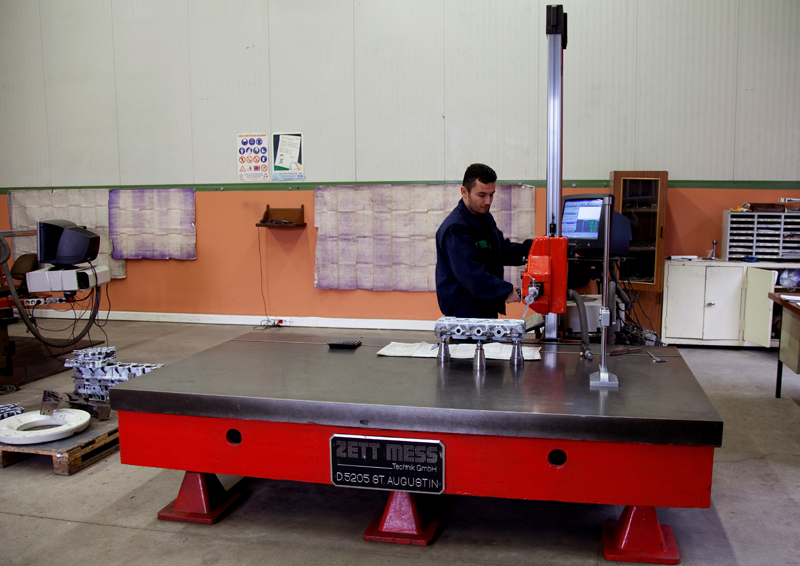
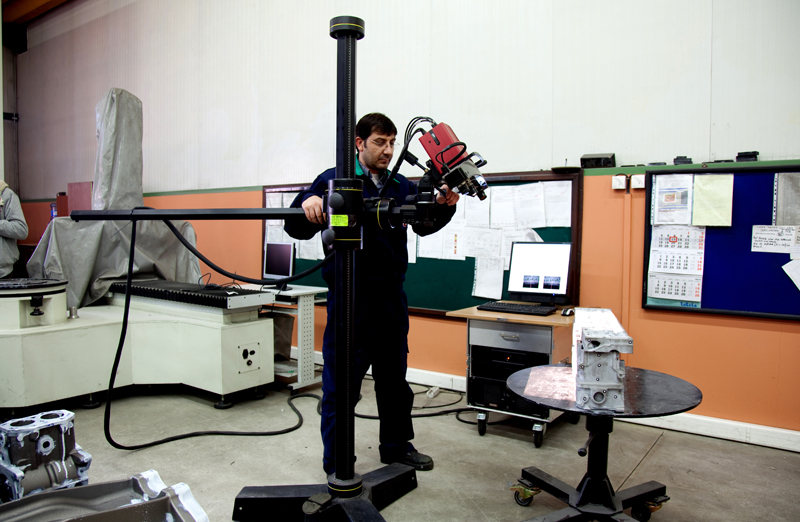
2 Zett-Mess trademarked coordinate measurement machines with an accuracy of 0,01mm are used for dimensional control of the castings, measurement of casting tools like patterns and core boxes.
Also, by GOM Atos trademarked optical scanner, 3D data with an accuracy of 0,01 mm can be derived from the components, the results can be compared with the original data (if available), and dimensional reports and visual reports can be prepared with computer support.
Dimensional Control of Machining:
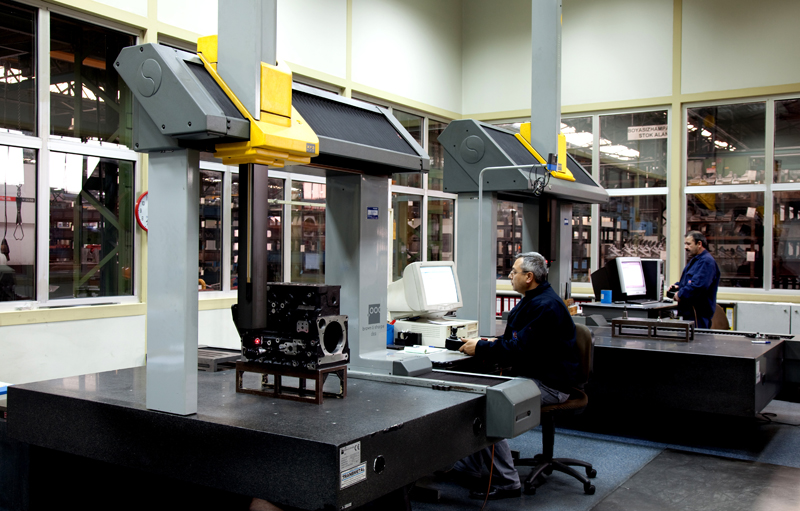
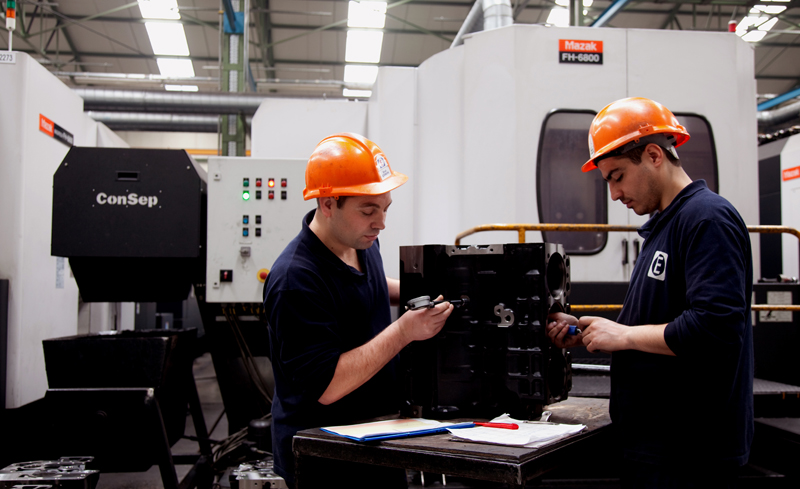
Serial dimensional controls of the machined components and size controls of fixtures and apparatuses are performed by DEA trademarked coordinate measurement machines with an accuracy of 0,001 mm. These 3 computers aided automatic measurement machines have the following sizes:
1500mm x 2000mm x 1400mm,
1000mm x 1200mm x 900mm,
1200mm x 2000mm x 1000mm.
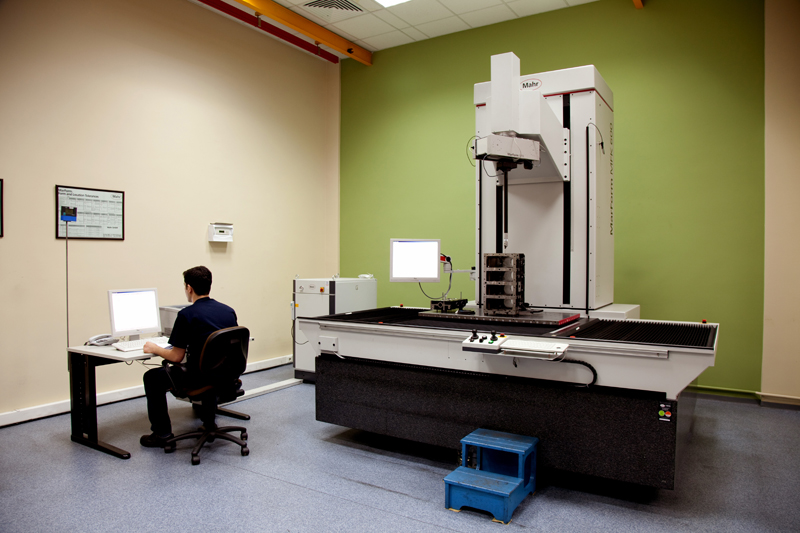
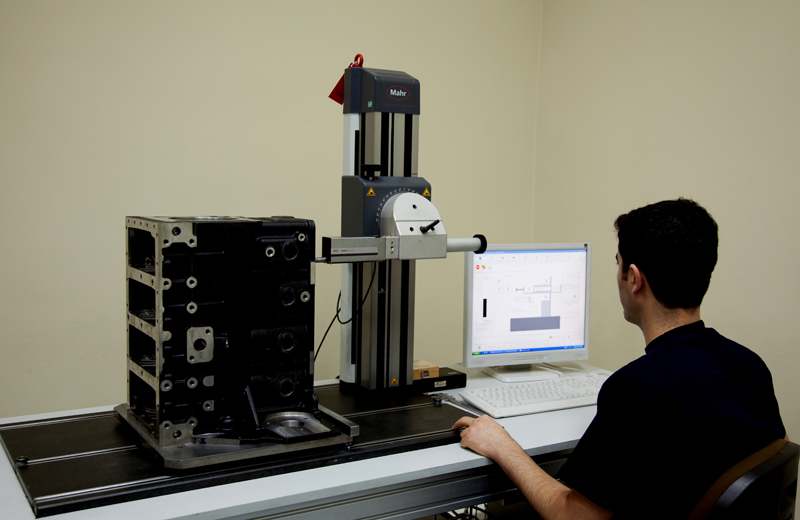
There is a MKF600 MahrForm device by which form measurements such as circularity, cylindricity, runout, concentricality, conicity that have narrow tolerances are performed with an accuracy of 0,1µm and a repeatability of 0.5µm for the diameters present in parts like engine blocks and cylinder heads. MKF 600 Form Tester device can measure the parts up to a weight of 800 kg and a size of 1100 mm x 550 mm.
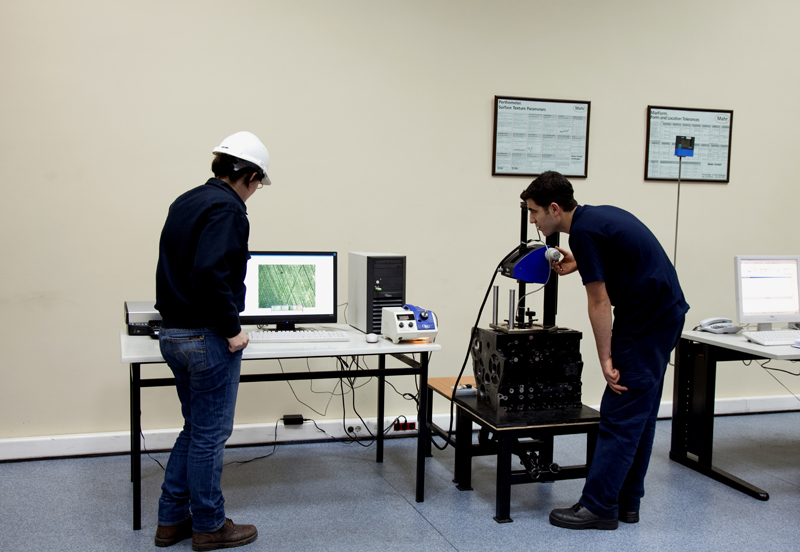
The quality of cylindrical surfaces – one of the most important criteria that determines engine fuel consumption performance – is monitored by using MarsurfXR20 device which can measure surface roughness parameters such as Rk, Rvk, Rpk, Mr1 with a precision of 0.1µm. Furthermore, the conformity of honing patterns is checked by using computer aided (Image Analyzer) Opto trademarked optical surface examiner.
Calibration Laboratory
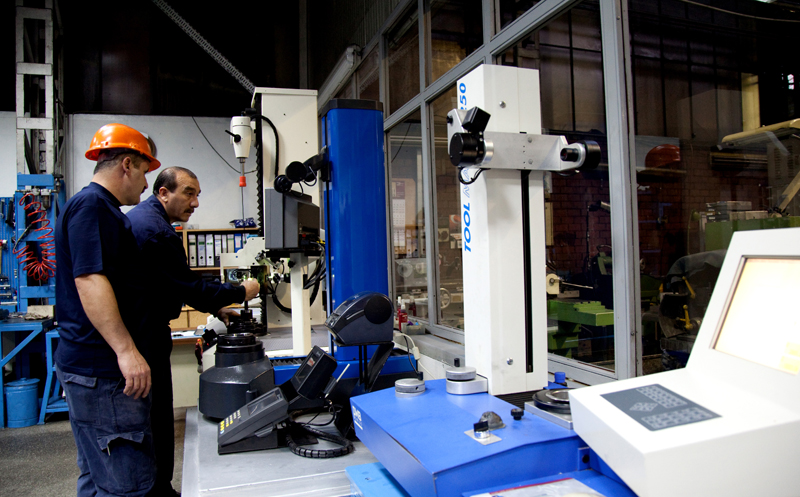
Calibration laboratory is responsible of performing and following up periodical calibrations of measurement tools and gauges; for the purpose of taking the accurateness of the measurements within the production process under control. SIP 550M dimensional measurement device with a precision of 0,01µm is used for dimensional calibrations. In addition, scales can also be calibrated in the laboratory.
